Panoramic Lens Substitution
Background
I was both inexperienced and the tools accessible to normal photographers at that time where very limited.
My early attempts were made using tripods, attempting to mount the camera close to the center of the nodal point of the lens, and then very carefully manually stitching photos together.
Lacking the correct and expensive tools, the process was tedious, and error prone
 |
| One of my first attempts at a Panorama |
Eventually I stopped attempting panoramic images as the results where never very successful.
 |
| (I did try other ideas circa 2007) |
Revisited
That eventually changed when a technique Ryan Brenizer became popular somewhere around 2012-2014. ( I can't recall when I first encountered it)
This method was taking a long fast lens and taking photos to cover the entire area of what a larger format would cover.
The result is both an impossibly thin depth of field combined with a wider field of view.
Combined with better panoramic stitching in photoshop and then Lightroom I started to revisit stitching photos to make panoramas.
As the examples from the Brenizer method where for portraits, I started using it to do portraits.
The narrow depth of field being a large part of the appeal.
Early examples:
Reconsidered
The biggest issue was simply that I am not much of a portrait photographer.
I liked the effect but rarely took photos of people in such a way to benefit.
And I started trying it on other subjects. Mostly to try and get the DOF effect on environmental shots.
 |
| Taken with an 85mm f1.4 |
 |
| Using the Brenizer method on a City Scene |
I even tried a series with the technique.
But eventually I didn't bother trying to get the extreme shallow DOF as I rarely needed it, but I could get improved image quality, improved resolution, and a wider shot.
This was a big change for how I would choose a lens.
I could go out with the longest focal length I would think I might need, and then simply stitch the wider ones as needed instead of carrying multiple lenses.
 |
And these shots are now interwoven throughout how I take normal photos.
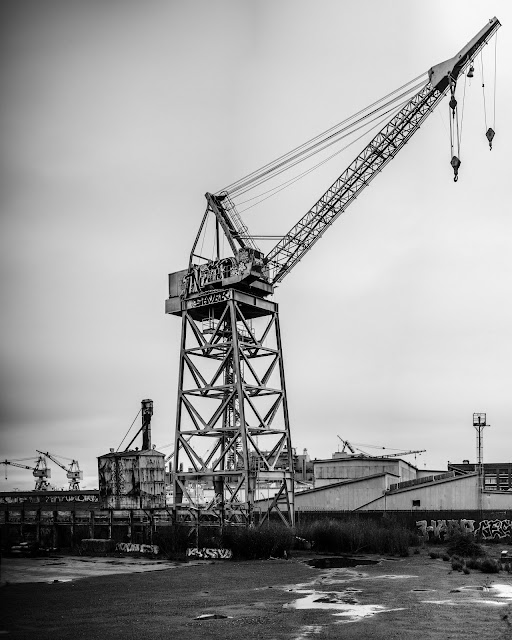
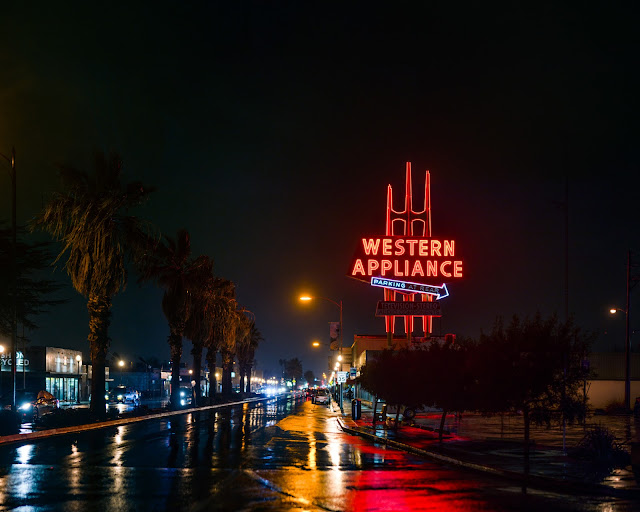
Below are some samples of multi-image panoramas being used to get a wider shot as part of applying this to everyday shooting and reducing equipment I was carrying around.
 |
| 150mm |
 |
| 85mm |
 |
| 105mm |
 |
| 85mm |
The Basics
To illustrate I put together a simple graphic. The top rectangles represent the Field of View of specific focal lengths relative to each other.
My most common choice is an 85mm so this example is based around that.
This shows both a low shot "Rough" coverage, and full coverage of those 85mm framings filling out the FOV of the wider views.
 |
That said, I think the most illuminating thing are the first two rough coverage shots. Using between 3-8 shots you can get the other two most common primes I personally would be tempted to bring with me.
But I think it can be helpful to try and create some examples to highlight the process.
The Process
Taking an older lower resolution camera with a kit lens, I took a series of photos and corresponding wider-angle shots of the same scene.
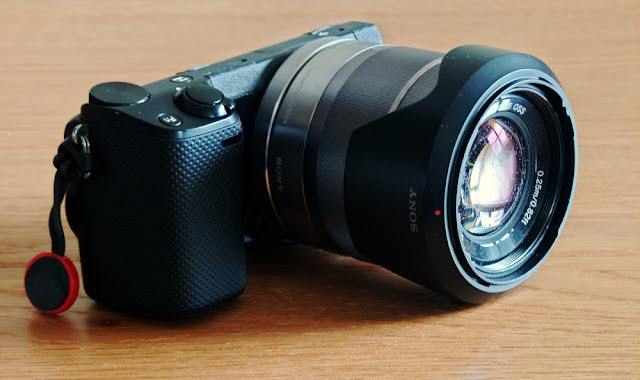
The camera is an older 2012 APS-C entry level Sony body that shoots at 16mp. I used the 18-55 and 55-210 kit lenses.
 |
| Compact APS-C with kit lens |
We will start with a fairly large panorama.
In this Example I took 36 images in quick succession in under 60 seconds. It's always better to have extra coverage, and working fast has the benefit of reducing too much movement in the scene (foreshadowing).
 |
| Photos for the Stitching (At 55mm) |
In the stitching tool I created an image of just over 100mp at 75% scale factor (100% scale tends to be needlessly large when working with so many images)
There tends to be a limit on how wide with perspective stitching, and I ended up excluding the edge images as I didn't need to be wider than the 18mm I was targeting. If you do other projections, you can get wider results without as much distortion at the cost of compromised Stright lines.
 |
| uncropped stitch |
 |
| cropped stitch |
 |
| 18mm Single Shot |
But it is most helpful to look at the images using 1:1 crops as below. I included AI scaling using 4X to show the resolution difference compared to current upscaling.
 |
| Original - Topaz AI Upscale - Panorama (75%) |
I think this does a great job of showing the advantage of using a longer lens to capture detail. The kit zoom lens at 55mm better resolves the building then it does at 18mm.
With the stitching I get my wide angle shot, but I have detail greater than the camera could provide in a single shot.
But it isn't without issues. The Water was not stationary, and you can observe stitching artifacts that would need to be fixed later.
 |
| Slight time differences really show up in water ripples. |
But a few more Comparisions for good measure
 |
| 139mm (109mp) vs 55mm |
 |
| 103mm (110mp) vs 35mm |
Considerations
There are some factors that are important for making this work well
- A Camera with a Deep Buffer - Being able to store a dozen or more photos is important as you will likely take photos faster then they can be written to the card. The larger the better.
- A Camera with a reasonable frame rate - You don't really need more then 5 fps, as if you go too fast you risk motion blur from your own movement. But generally something at least 3-5fps is ideal so you don't need to wait for the camera.
- Back Button Focusing - The worst thing to happen is the focus to be adjusted in the middle of shooting. Set the focus, then shoot the whole scene without focusing again. You can also use manual focus if needed instead.
- Low motion subjects. It is possible to deal with movement in the shot. But the less of it there is, the better the results, and easier to work with. Content aware fill is your friend to try and fix these issues.
- The wider you go the greater the risk of significant parallax artifacts. They will exist if you don't center the lens, but most of the time it's not a big issue.
Tools
- Lightroom - The inbuilt stitching is generally pretty good, and produces a DNG from RAW images.
- Capture One - This is what I use now, and also produces a DNG from RAW images. Not quite as reliable for successful stitching
- Photoshop - This is pretty powerful, but not having used it in years I remember it being slow. It worked only on non-RAW images. Do 16 bit TIFFs.
- Microsoft ICE - Used this for years. It seemed to be both fast, reliable, and didn't have issues with massive panoramas. Also only 16 bit tiff output.
- Hugin - Powerful tool, I never liked it as the learning curve is steep but has the greatest ability to fine tune the stitching.
Final Notes
I am not going to tell anyone they have to try this.
Or that you can always do this with success.
There are plenty of subjects, cameras, or situations that don't allow for it to be useful.
But it's something I've simply adopted as a common trick to carry less and not be worried about missing out on not bringing my highest resolution body, or a bag full of lenses.
References
https://en.wikipedia.org/wiki/Brenizer_method
https://hugin.sourceforge.io/download/
https://www.microsoft.com/en-us/research/project/image-composite-editor/


Comments